Job Phases
Split a job into phases with their own schedules, costs and invoices, all under one job number
Job Phases
Run staged jobs as one job, not a folder of duplicates.
- Split a job into phases like Rough-in, Fit-off and Commissioning
- Each phase gets its own status, bookings, costs, forms and invoices
- Variations track extra work the customer asks for mid-job
- Everything shares one job number, with one running invoice sequence
- The job rolls up progress, billing and status across every phase
Big jobs rarely happen in one visit. Job Phases lets you break a job into stages that are scheduled, costed and invoiced on their own, while the customer still sees one job and one clean set of paperwork.
Job Phases is available on all plans, in the portal and the mobile app.
How Phases Work
A phase is a stage of the job with its own life. When you add the first phase, your job becomes phase A automatically (labelled "Main works" unless you rename it) and the new stage becomes phase B. The job number stays the same, with a letter after it:
- 1004 becomes 1004-A (Main works) and 1004-B (Fit-off)
- Add more stages and they become 1004-C, 1004-D and so on
- Variations are numbered separately: 1004-V1, 1004-V2
Each phase is a full piece of work. It has its own status (Quote Visit, Work Order, Completed), its own bookings on the calendar, and its own costs, purchases, forms, notes and invoices.
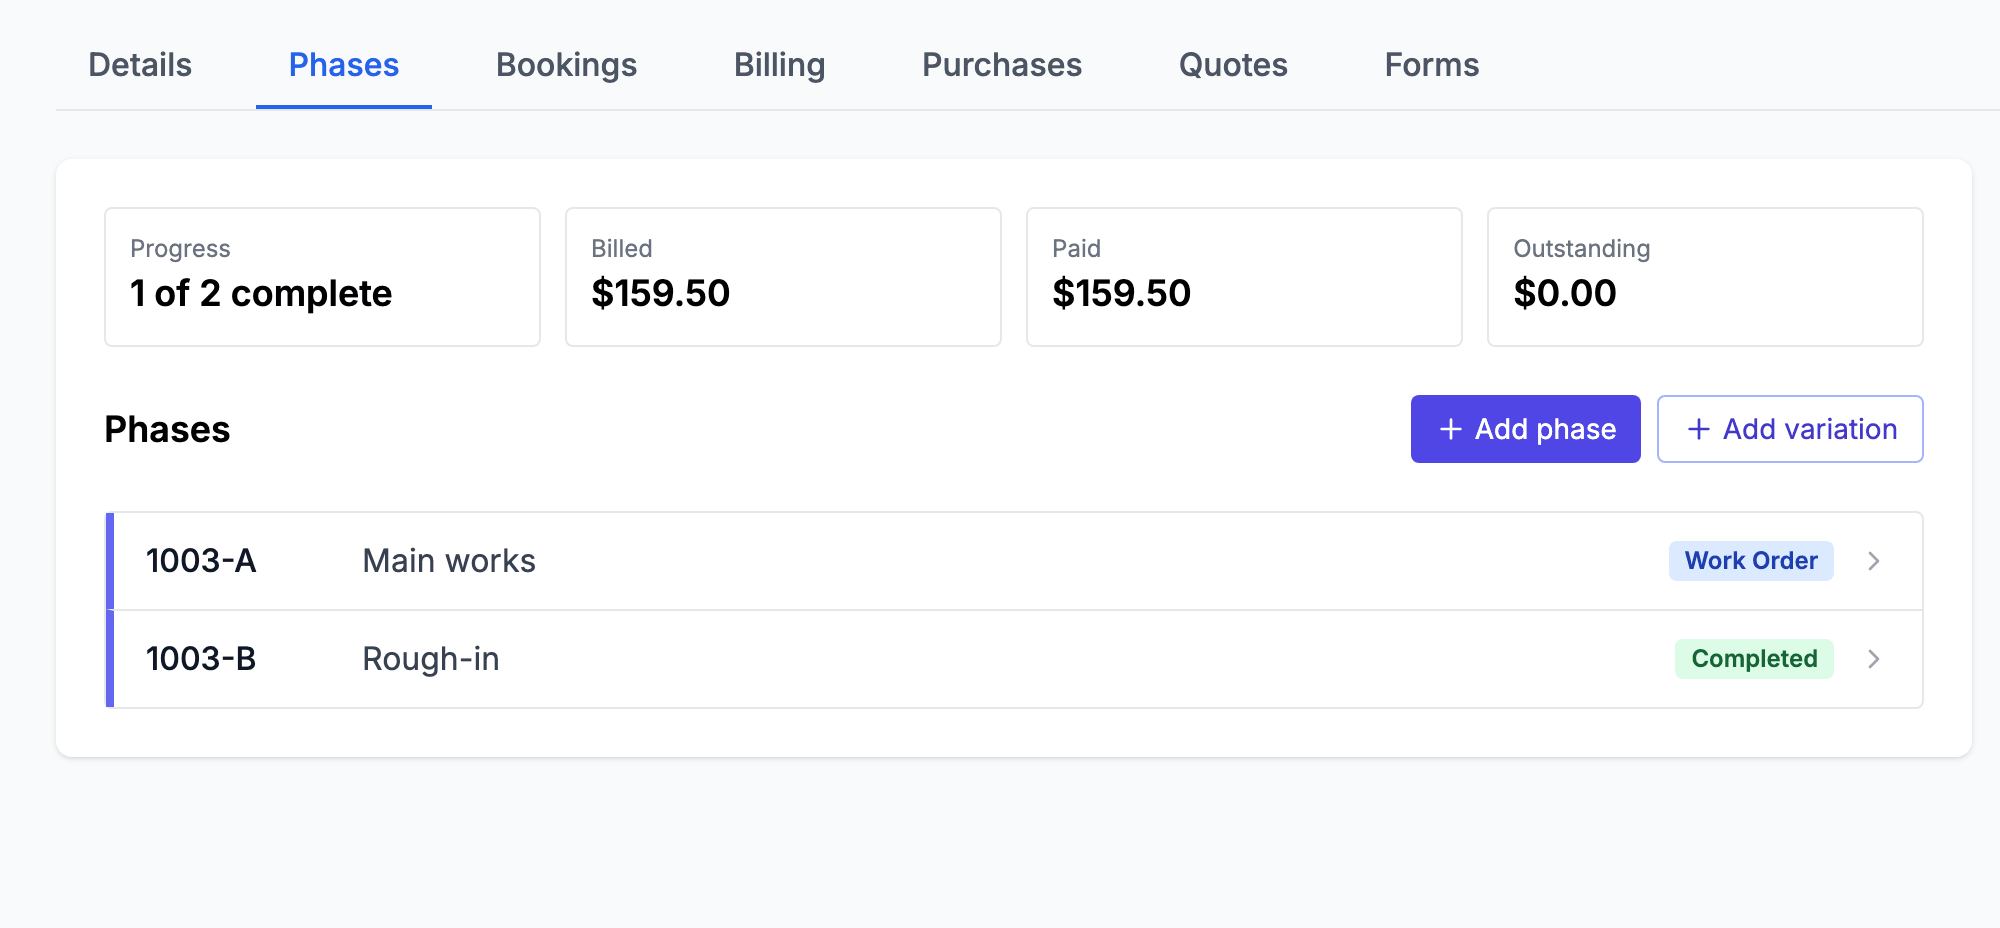
Adding a Phase
In the portal: open the job, go to the Phases tab and click Add phase. Give it a name like Rough-in and an optional scope description.
On mobile: open the job and scroll to the Phases section, then tap the + button.
The first phase you add converts the job into a phased job. There is nothing to set up beforehand and no way to get it wrong: a plain job simply becomes phase A.
Variations
When the customer asks for extra work mid-job, add it as a variation instead of a phase. Variations get their own number (1004-V1) and show in a separate list, so added scope never gets tangled up with the stages you originally quoted.
Add one from the same place: Add variation in the portal Phases tab, or the + button on mobile.
Scheduling and Working Phases
Each phase books onto the calendar like any job. Calendar entries show the phase reference and label (for example #1004-B Rough-in) so your techs know exactly which stage the visit belongs to.
Complete each phase as the work finishes. Completing a phase behaves just like completing a job: you can invoice it straight away or complete it without invoicing and bill later.
Invoicing Phases
Invoices run in one sequence across the whole job, whichever phase they bill:
- The first invoice on the job is 1004, then 1004-2, 1004-3 and so on
- Each phase can raise its own invoices as its work completes
- The customer sees one tidy invoice trail for one job, never duplicate numbers
The Phases tab rolls up billed, paid and outstanding across every phase so you always know where the whole job stands financially.
Job Status with Phases
The job header shows the rolled-up family status: if any phase is a Work Order the job shows Work Order, and the job only shows Completed once every phase is finished or cancelled. Each phase keeps its own status underneath.
Review requests fire when the whole job finishes, not per phase, so your customer gets asked once.
FAQs
Do I have to use phases? No. Jobs work exactly as they always have until you add a phase.
Can I reorder phases? Phases display in the order they were created. Drag-to-reorder is on its way.
What happens on the jobs list? The family shows as one row under its job number, with the rolled-up status. Click the arrow next to the job number to expand its phases.
Can I invoice two phases together? Each invoice belongs to one phase, but because the sequence is shared the customer just sees invoice 1004-2, 1004-3 and so on regardless of which phase raised them.
Was this article helpful?
Let us know if you found this information useful.
Still need help? Contact support
In this article
Use your browser's search (Ctrl+F) to quickly find specific topics within this article.
Browse all help articles →